After setting up your WordPress website, one of the first and most crucial tasks for any beginner is the installation of WordPress plugins.
WordPress plugins provide the ability to add new features and functionalities to your website. These can range from caching facilities to AI chatbots to all-encompassing eCommerce solutions.
With thousands of free and premium plugins available, this step-by-step guide aims to provide you with a good understanding of the WordPress plugin installation process.
Table of contents
WordPress.com plugins
Before we look at the installation options, it is important to note that if you’re using WordPress.com for your website, you will not have the option to add any further plugins.
WordPress.com has restrictions, and additional plugins are not supported without upgrading to the business plan.
However, if your WordPress site is on WordPress.org or self-hosted, you can install any plugin you require. So, if you need the flexibility of additional plugins, we recommend a migration away from WordPress.com.
For any help with moving your site, just get in touch and we can take care of this on your behalf.
Now let’s look at how to install a WordPress plugin – assuming you are self-hosting or on WordPress.org.
How to install a WordPress plugin
This tutorial covers three methods of adding a plugin to your WordPress website:
- Installing with the plugin search feature
- Manually installing a plugin with WordPress
- Manually installing a plugin with FTP
Keep in mind that the settings for an individual plugin will vary significantly, so we won’t be addressing those specifics in this article.
Installing with the plugin search feature
The easiest way to install a WordPress plugin is with the plugin search feature. This is also the quickest method for finding free plugins listed in the WordPress directory.
1. From your WordPress admin area, navigate to “Plugins” > “Add New.”
2. Using the search field, type a plugin name or function. This will return a list of results.

3. Browse through the options and select the plugin that best meets your requirements.
For example, if you are searching for Tidio, which is the best WordPress chatbot plugin, click the relevant “Install Now” button. WordPress will then download and install the selected plugin automatically.
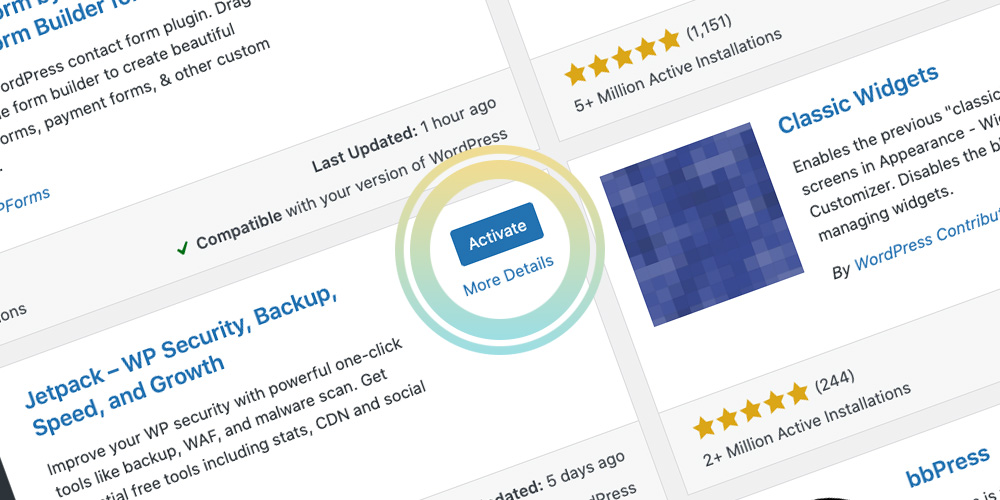
4. Once the installation is complete, the “Install Now” button will transform into an “Activate” button. Click this to make the plugin operational.

Congrats, you have successfully installed your first WordPress plugin.
Manually installing a plugin with WordPress
For premium WordPress plugins that are not featured in the searchable directory, a manual upload is required. Let’s look at the steps involved with this from within the WordPress admin area.
1. Download your plugin from the source website. This will typically be in a zip file format.

2. From your WordPress admin area, navigate to “Plugins” > “Add New.”
3. Click the “Upload plugin” button at the top of the page to reveal the plugin upload form.

4. Click “Choose File” and browse to the plugin file downloaded to your computer in step one. Alternatively, drop the file over the button.
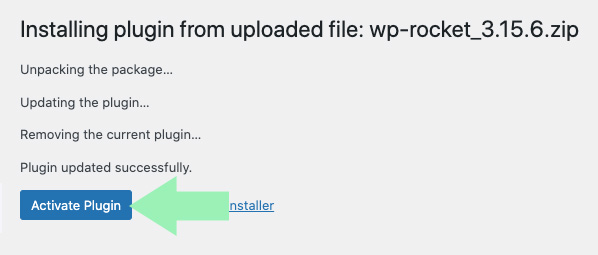
5. Select the file then click “Install Now.” WordPress will upload the plugin, with a message displayed to confirm the installation.
6. Finally, click the “Activate Plugin” link to make the plugin operational.

Manually installing a plugin with FTP
Occasionally, a WordPress hosting provider may have restrictions that prevent you from installing a plugin directly through the WordPress admin area. In these cases, manually installing the plugin using FTP is the best work-around.
Here’s how to do so:
1. Download your plugin from the source website. This will typically be in a zip file format.
2. Unzip the file and look for a folder with the same name as the plugin. This will be uploaded to your website by FTP in step six.
3. If you don’t have FTP login credentials, get in touch with your hosting provider. They should be able to provide this information.
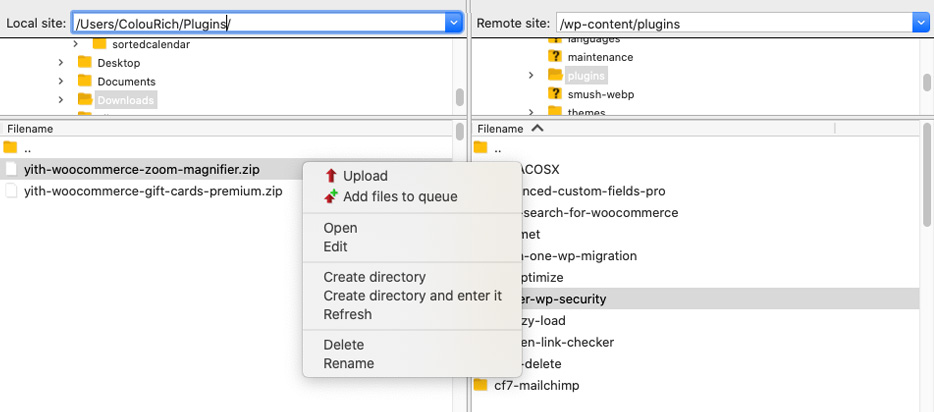
4. Open your FTP client and connect to your website using the login credentials provided by your host.
If you don’t have an FTP client on your computer, we recommend downloading FileZilla.
5. Once connected, navigate to the directory at “/wp-content/plugins”.

6. Upload the folder extracted from the zip file in step two.
7. Return to your WordPress admin area and access “Plugins” from the menu. You should find the installed plugin listed.
8. To activate the plugin and integrate it into your website, click the “Activate” link located below the plugin’s name.
Now that you’ve learnt to install a plugin with three different methods, you can add new features to enhance your WordPress site. Just remember to keep your plugins up to date. This will ensure they remain compatible with the latest WordPress version and don’t become a security risk.
WordPress plugin installation FAQ
If you’re new to WordPress plugins, you might have several questions regarding their installation. Here are some of the most common queries about the process.
There are nearly free 60,000 plugins available in the WordPress plugin directory, and countless premium versions available through third-party sites. With so many options, it can be overwhelming for beginners to choose the right plugin.
Our advice is to take note of the number of installations and star rating of a particular plugin. This will help you to gauge what will be best for your needs, along with checking out independent review sites.
We recommend deleting inactive plugins if you’re not going to be using them on your website anytime soon.
They won’t slow your site down, but they can be a security risk. Should a hacker gain access to your site, the inactive plugins could unknowingly become infected with malware.
Uninstalling a WordPress plugin is straightforward.
1) Visit the “Plugins” page from your WordPress admin menu.
2) If the plugin you want to remove is currently active, deactivate it first. Then click the “Delete” link to completely remove it from your website.
WordPress allows you to install plugins without using them on your website.
To make use of a plugin, you must “Activate” it. You can easily identify your active plugins by navigating to the “Plugins” page in your WordPress admin menu.
Plugins with a white background are installed but inactive.
Plugins with a blue background are both installed and active.
You can install as many plugins as you like on a WordPress website.
However, we recommend only installing and activating plugins which you need. A large quantity of plugins can slow down page response times. This leads to a poor user experience, a higher bounce rate and an impact on your site’s rankings.
No, only Administrators can install plugins. Editors, Authors, Contributors and Subscribers do not have permission to install or uninstall a plugin.
To grant permission to another user, you can change a user role or customise the role with a plugin.


